Counting Every Blessing
Sunshine Nursery Tour
Blueberry Zucchini French Toast
reading suggestions
I'm Becca - mom to three cute kiddos, professional photographer, chocolate addict, in love with all thing wildflowers, and (most importantly) a sinner saved by grace through faith!
HEY THERE!

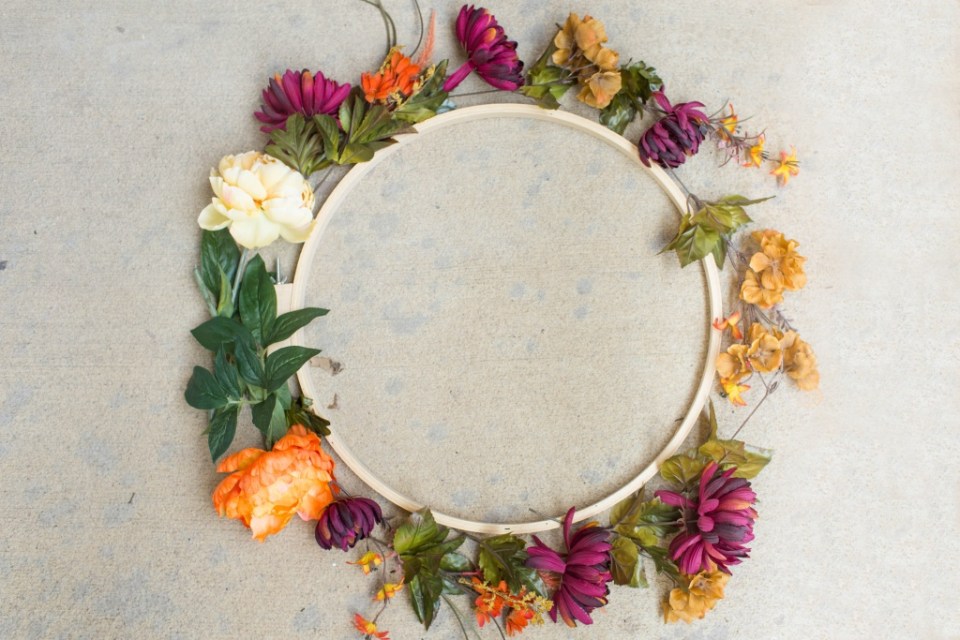
One of my favorite things to do when the seasons start to change is to make some fun DIYs to decorate the house. Last year I made this super cute fall wreath, and this year I decided to try a new variation. You may have seen these embroidery hoop wreaths floating around Pinterest lately like I have, so naturally this was the style I went for this year. The result? SO cute! I love how simple and clean it looks, and it’s such a great way to mix up the other wreaths I have. I saw a tutorial the other day for an interchangeable wreath (whaaaat?!) and I’m totally doing that the next time I make one!

I got all my supplies at Hobby Lobby (of course!), and scored big on savings. Right now fall floral is 40% off AND regular floral was 50% off, so I was able to get the flowers I was wanting for a fraction of the cost. I love all the fun fall flowers, decorations and everything in between that they have right now, and you betcha I spent some time perusing the aisles, looking at it all. I absolutely love decorating, especially this time of year!

Fall Hoop Wreath DIY
Materials:
18 inch embroidery hoop
Flowers
Floral tape
Hot Glue
Wire cutters
String
Command hook

1. Cut your flowers, giving them about an 8 inch long stem.

2. Tape the flowers onto the hoop to hold them in place while you decide how to assemble. You’ll need to wrap the tape around the hoop a few times to get a good grip and to hold it all together.
I started with the two big flowers first, then filled in with the smaller ones.

3. Hot glue the stems to the hoop to secure everything in place. You can also hot glue the flowers to each other so they stay turned in the direction you are wanting.
4. Hang using a string and upside down command hook. On the back of the door, flip the command hook upside down. Loop the string around the hoop, tie off the ends, and hook them onto the command hook.
One side of the hoop wreath is going to be heavier than the other, so the string may be a little off-center of the door in order for the wreath to hang right!

And there you have it! I can’t wait to share more fall and holiday tutorials in the weeks that come. Let me know if there’s something specific you’d like me to make and I’ll share a DIY for it. : )

Now it’s your turn to talk! Answer one of these questions in the comments below:
What’s your favorite craft to make in the fall?
What DIY would you like to see on the blog soon?


What do you thinkCancel reply
CLICK HERE TO SIGN UP
Sign up for my newsletter to never miss a post! Get monthly updates on blog posts, new favorite products, giveaways and so much more. You can unsubscribe anytime!
Very simple wreath craft that anyone could accomplish. Thinking this would be fun at our achievement girls night to make and take.
I have had a hoop to do a similar one for months! This motivates me to get it finished!
That’s really pretty. I think I have a bunch of these hoops in my basement. I love Hobby Lobby too!
This is so pretty and perfect for fall! I love how simple it looks. I struggle with making wreaths but this looks simple enough.
This is gorgeous! I love the simplicity. Your pictures are absolutely stunning, too :)